Wednesday, February 8, 2012

chocolate chip cookie dough truffles!

So I've been dying to try out this recipe for some weeks now, and I always left it to the last minute of needing to make something so I would just make something I knew would taste good... haha and so this recipe kept getting put off until another time.  Today was that day!


I may have just made the most delicious truffles ever! Sooo easy - sooo good!! There are going to be some lucky girls at bible study tomorrow!


For reals it's like eating balls of cookie dough covered in chocolate!  But guess what!? There is no eggs in it so if you are the kind of person who totally freaks out over salmonella and have never tasted how absolutely amazing raw cookie dough is - than this recipe is for you!


So heres the recipe...

1/2 cup of butter, softened
3/4 cup of brown sugar
1 tsp vanilla
2 cups flour
1 14oz can of sweet and condensed milk (if you are like me and would think you could find this in the milk department at the store, you can't - its in the baking isle...)
1/2 cup of chocolate chips
2 cups of chocolate melting wafers (the recipe actually called for 1 bar of chocolate candy coating - so buy this if you know what it is... I couldn't seem to find it so I just went for the wafers)


Start off with creaming the brown sugar and butter until it is light and fluffy.  Beat in the vanilla.  Gradually add flour, alternating with the sweetened condensed milk, beating well after each one.  


Stir in the chocolate chips.  Now just pop it in the fridge for about 1-2 hours.


Take your dough out of the fridge and roll it into little 1-inch balls.


So now its the chocolate part.  I am really awful at melting chocolate... Most of the times I burn it, or am rushed so it just becomes a mess.  But man - these melting wafers are fool proof!  So I started with just adding about 1/3 of a cup into a bowl and would set the microwave to 1 minute and it was perfect!


After you have you chocolate melted grab one of your dough balls and dip it into the chocolate and make sure it's covered all the way and set it aside on a sheet of wax paper and let it cool off.


and now you just have to wait for about 15 mins and you will get to taste this delicious chocolate covered cookie dough truffle!!


peace, love and pogo sticks -- ash

on my heart

Tonight is going to go down as one of those days I want to remember for my whole life.  I just was able to experience such an amazing and intimate time with Jesus - it really has just left me so filled with joy and love and faith and awe of how great He is.  I want to remember this feeling of how real He is!

To the one who sits upon the throne be blessing and honor and glory and power forever! Jesus you're sign, Jesus you're the wonder! You're the miracle there is no other!


thank you Jesus that you are fun and creative and so faithful!  

Sunday, January 29, 2012

week four - project 365

ahh finally up to date on my project 365!! 

This has been stuck in my head all day -- thought i'd share it, pretty much had it on repeat while I posted this -- enjoy!

theres no place I would rather be
than here in you love

set a fire down in my soul
that I can't contain
that I can't control
I want more of you God!


this really hit me - we cannot afford to have thoughts in our heads about us that God does not have in His!  Think about this for a minute - would your life be different if you only saw yourself the way God sees you? 


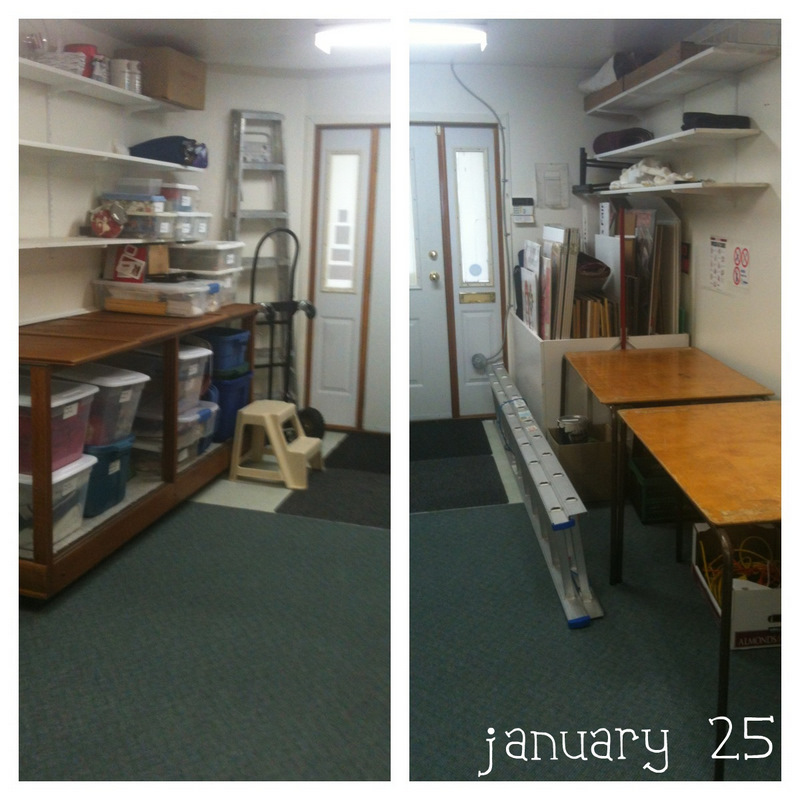
So at work I took on a large cleaning project - this was day one.  I felt like I was on cleansweep! I had so many piles set up everywhere - it was crazy.


Day two - things got a little bit more messy....

day three - man that place looks awesome!


soo soo soo frosty - but I thought it looked pretty beautiful!


my sweet new orange shoes


Has your faith become a chore - where once it was a passion?  Do you long to move deeper in authentic spirituality?  Jesus invites you to follow him!

may your arrows fly straight and your aim be true -- ashleigh


project 365 - week 3!

ah its a little late... but here is week three!!


A little bible reading plan I made - much more fun to tick off the days when I get to see the progress on something pretty


this made my day! soo soo true!!


what i'm reading right now


another sweet night at girls bible study


ahh breakfast at night - soo much fun!


my sweet sweet shoes - oh how I wish you stood up to the elements better....

yours till butter flies -- ashleigh

Tuesday, January 24, 2012

week two - project 365

week two!


a sneek peek into my sewing closet!

This will soon be my new circle scarf!


planning meeting...


a night for cozy socks


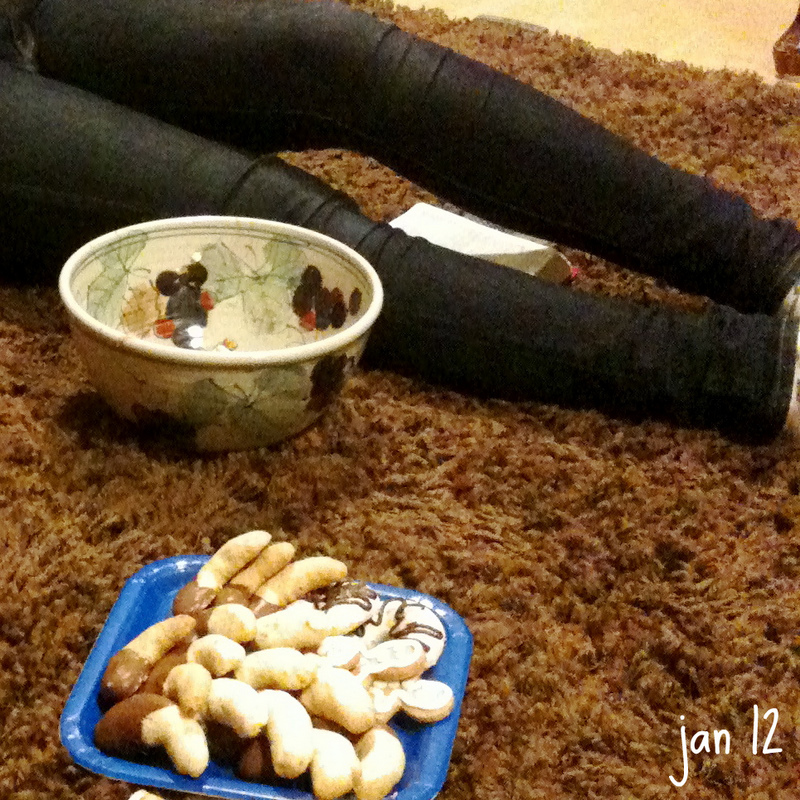
sweet treats at girls bible study


youth snow day

ps. hotdogs really aren't good without buns...


Saturday, January 21, 2012

my first tutorial -- mod podge shoes!


Welcome to my first tutorial! So I realized that if I want to keep doing these I am for sure going to have to learn to take better pictures! These shoes were really fun and easy to make.  The mod-podge was a little tricky in some places to get it to lay nice but i'm pretty happy with them!

I'm not sure how amazing these will stand up in real life - but I know i'm certainly wearing mine to church tomorrow! I am in love with them!

So to start off making these super cute shoes grab a pair of old flats that you aren't in love with any more or find some really inexpensive ones to have a little fun with!

What you will need:
-shoes
-fabric
-mod-podge
-exacto knife
-scissors
-sponge paint brush


supplies


Start with just laying the fabric over the shoe - cut it large enough to cover the entire shoe.


Next - just trim around the edges - but make sure you still have enough room to still cover the bottom of the shoe.


Now, make a slit up the back of the shoe until it almost hits the scoop.


Cover the top of your shoe with the mod-podge -- make sure its lots!


Now put the fabric on and try to stretch it so there is as little puckering as possible.


Keep adding the mod-podge and working your way down the shoe on both sides - remember to keep smoothing out your fabric so there is no puckering.


Once you have finished both sides of the shoe - leave about 1/2 of fabric


Now you are going to want to make some slits around the curve of the fabric to make it easier to tuck under the top of the shoe.


To finish the back of the shoe - paste one strip of the fabric down and with the remaining strip fold it over and add smooth it out.


Take the exacto knife to the bottom of the shoe to take care of all the extra fabric.

Now just cover your shoes with a thick layer of mod podge and you are done!!! 

I was scared they were going to feel uncomfortable - but they are awesome!

Yours till the lettuce peeks to see the salad dressing -- ashleigh


Sunday, January 8, 2012

week one - project 365

Well today is my first post of the 365 project.  I've always thought of this as a really fun project - I can hardly remember what I did last week and now I'll be able to look back over the year and see some of what has happened over the year!


happy new year!


what i'm reading this week 


a nice hot chocolate on a cold day at work


happy birthday jesus cake!


some of the magnets i've been busy making


out for a stormy day drive

so if you notice is been a looooong time since i've posted my week in pictures - yell at me!!

be well, do good deeds and keep in touch -- ash
Related Posts Plugin for WordPress, Blogger...